


Eat With The Espinelis | 001
Chocolate Chip Peanut Butter Blondies


Hello and welcome to our first Eat With The Espinelis post, a series where we’ll share some of our favourite recipes and things we’ve learned along the way concerning nutrition and health. We’ll also include ways we meal plan and budget and things we include in our weekly food rhythm. I always love having tried and true recipe options sprinkled in with new, adventurous options and I think it’s always helpful to see what others have tried and love.
As a family, we try to make everything we can at home and rarely eat out. This allows us to have control over our ingredients while also maintaining a budget. I love learning about new ways of using the most nutrient-dense and beneficial foods for our family, how to stretch ingredients, and which treats can be made just a touch more on the healthy side. The kitchen is a place where I genuinely feel tranquillity and inspiration, where I’ve found solace in times of turmoil, and where I feel a deep sense of connection to my God-given role of a homemaker. I enjoy every minute of using the beautiful ingredients we have at our disposal to create meals to fill/fuel us and bless others. I also believe the kitchen and the dinner table are places for family to gather, stories to be shared, and memories to be forged. To me, it’s a very sacred space.
And of course, it can be so much fun! I figured we better start with a bang, so this one is for anyone who loves a sweet treat (and especially for those with an affinity for peanut butter 😉). We were hooked as soon as we first tried these, and I knew they would become part of our regular rotation. They are also an excellent option for bringing to parties or love on a neighbor.
We’ve made a few adjustments to the original recipe from Half Baked Harvest (who is one of our favourites to learn from and gather recipes and ideas from) to better suit our tastes as well as make it a bit more well rounded as far as sugar content. (Important note: we are not against sugar and actually believe in including it in our diet as sugar is the primary source of energy for every cell in our bodies. What we feel is important is the source of sugar and the amount and we lean towards natural options such as maple syrup, honey, coconut sugar, and fruit amongst others). Also, I typically try to use what we have on hand when it comes to certain interchangeable ingredients. For example, the chocolate chips: feel free to use dark, semi-sweet, bittersweet, butterscotch, white, mix it up and go with what you have 😊
Peanut butter lovers, gather ‘round! 😜
Ingredients:
▢ ¾ cup (140 g) salted butter
▢ ¾ cup (210 g) creamy peanut butter
▢ ¾ cup (210 g) maple syrup
▢ ½ cup (100 g) coconut sugar (or organic cane sugar or other granulated sugar)
▢ 2 eggs
▢ 1 tablespoon vanilla extract
▢ 2 cups (330 g) all-purpose flour
▢ 1 teaspoon baking powder
▢ 1 cup (180 g) semi-sweet chocolate chips
▢ ⅓ cup (50 g) dark chocolate chunks OR mini Reese’s peanut butter cups
▢ flaky sea salt
Instructions:
1. Preheat the oven to 350 degrees F / 176 C. Grease a 9x13 inch baking dish.
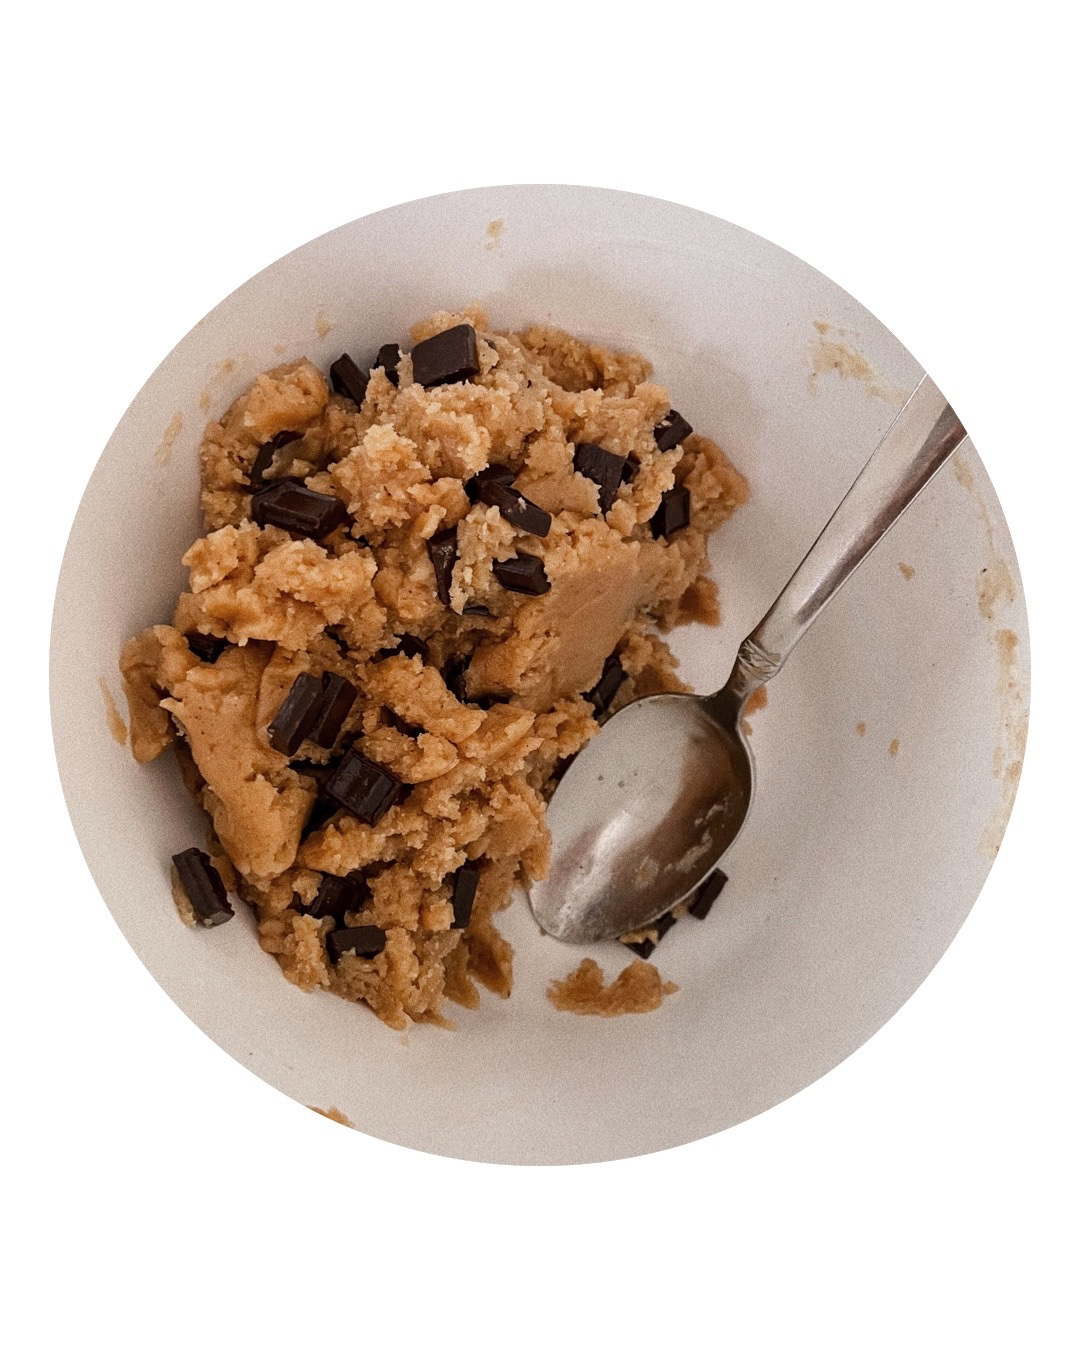
2. Melt the butter and ½ cup (140 g) peanut butter together in a bowl on high, stirring every 20 seconds until melted. Either use the same bowl (if it’s large enough) or add the butter mixture to a large bowl. Stir in the sugar, maple syrup, eggs, and vanilla. Add the flour and baking powder. Transfer the bowl to the freezer and chill for 5 minutes. Stir in the chocolate chips.
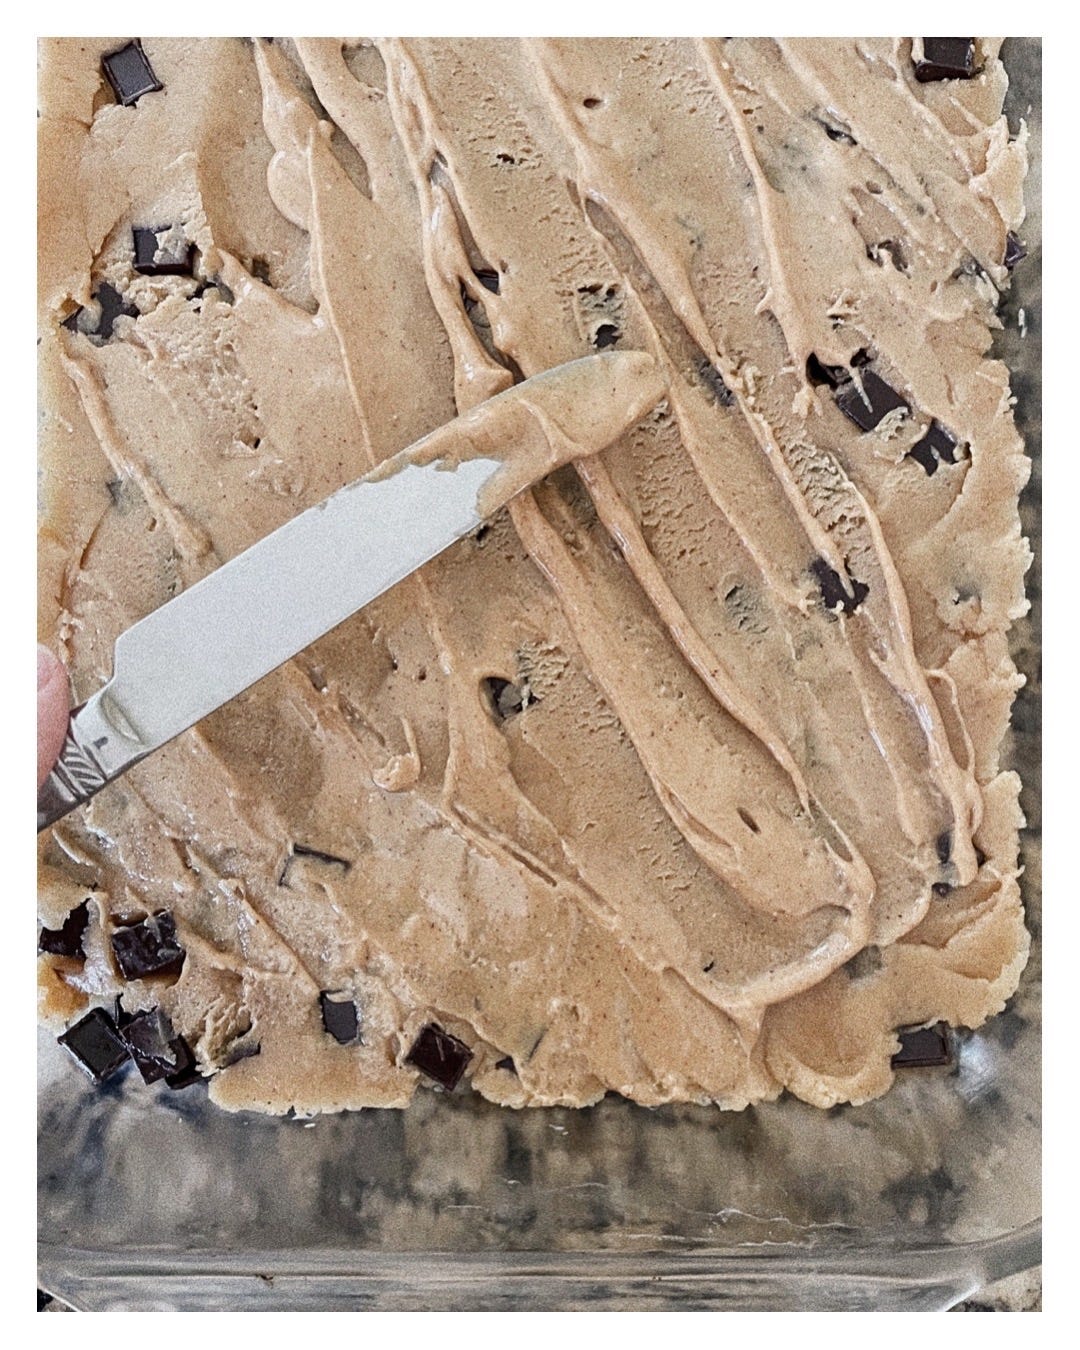
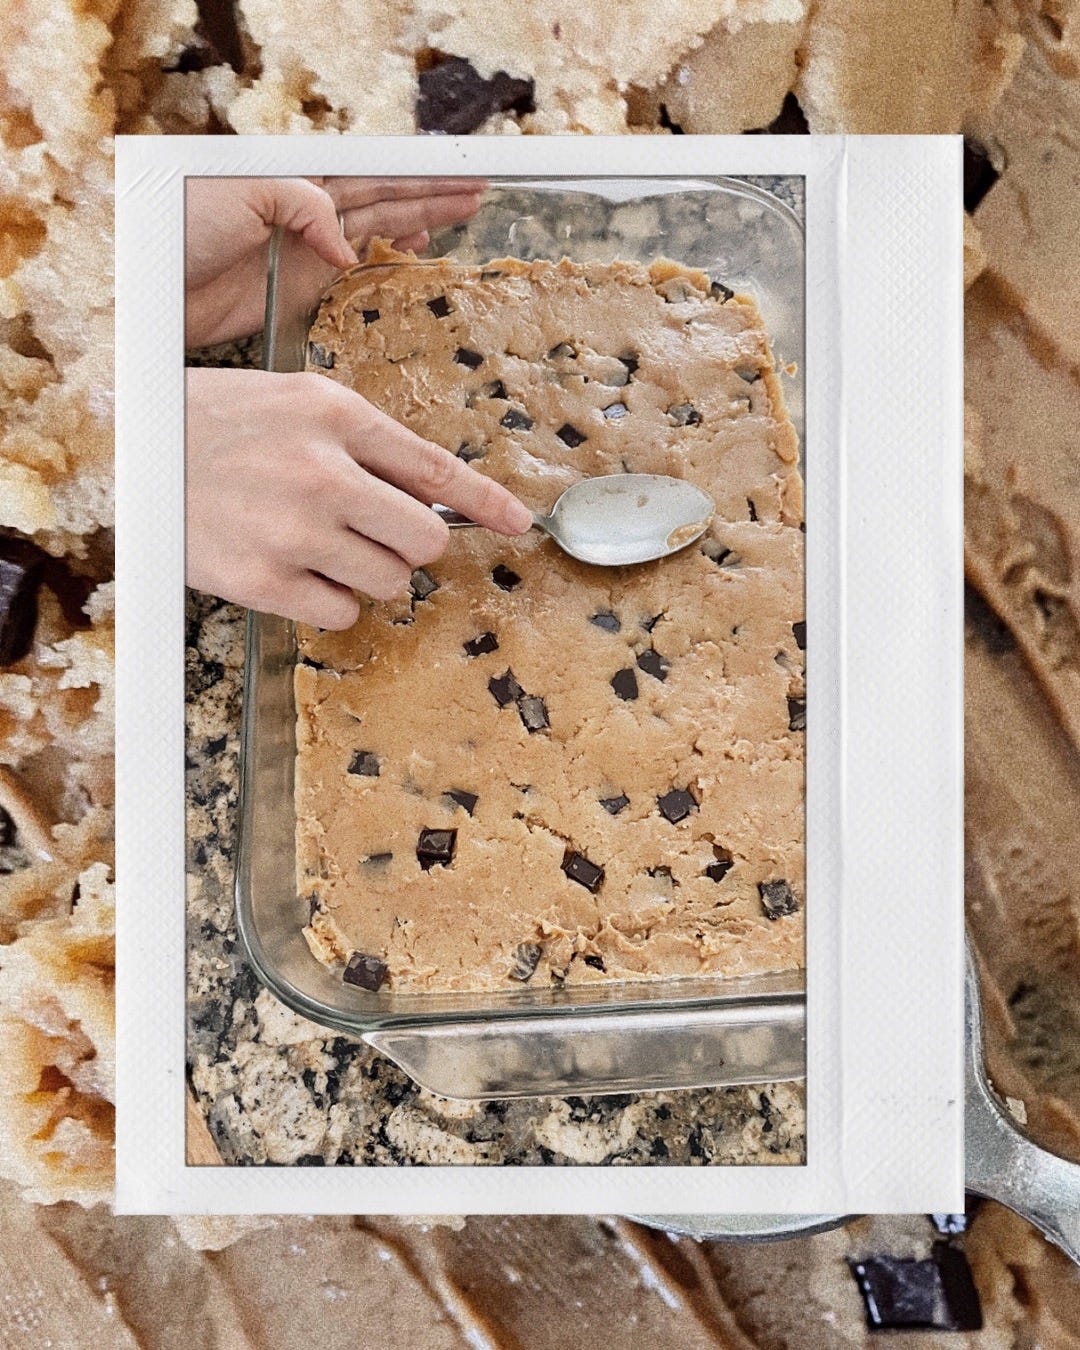
3. Spread 1/2 the dough out in the prepared dish. The dough will be thick, so I use a spoon to push it down in an even layer in the dish. Take the remaining ¼ cup (70 g) of peanut butter and plop it right on top of the first layer of dough, gently swirling it all along with the dough. Add the remaining dough on top and gently press it on top across an even layer, just as with the first layer.
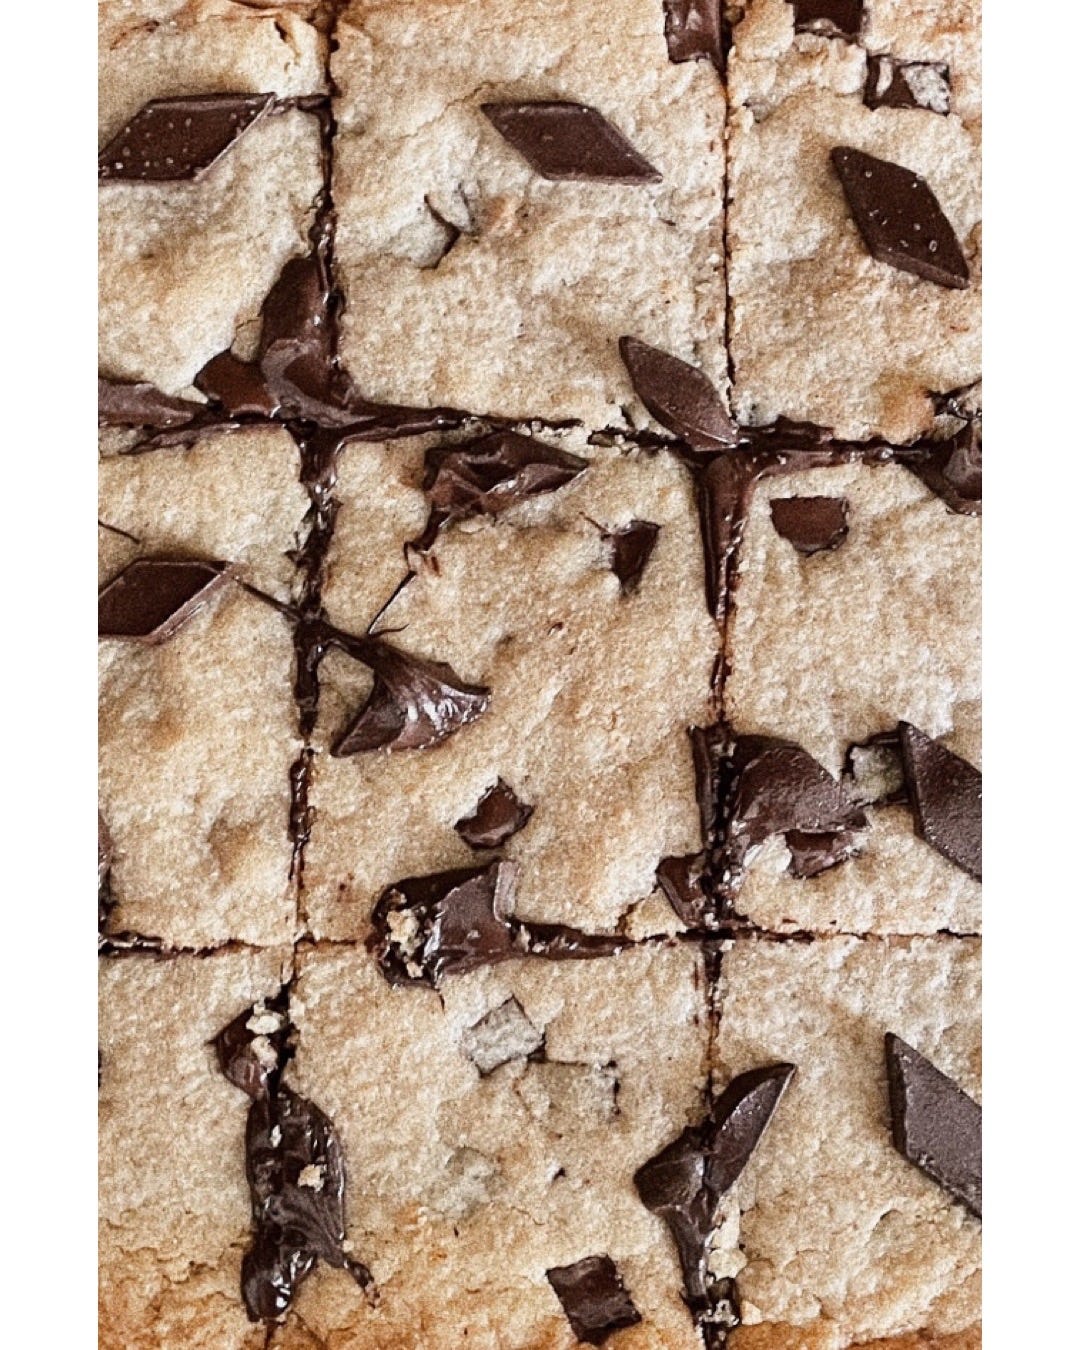
4. Transfer to the oven and bake for 18-22 minutes until set in the center. Remove from the oven and sprinkle the chocolate chunks over the blondies. At this point, you can either press them in gently on the top of the blondies and be done or return them to the oven for a minute or two to gently melt the chocolate. If using the peanut butter cups, gently press into the dough before returning to the oven for 1 minute. After this, sprinkle the top with sea salt. Let them cool and cut into bars. Enjoy!!
(Store for up to 5 days in an airtight container)
“So whether you eat or drink or whatever you do, do it all for the glory of God.”
1 Corinthians 10:31
 | A guest post by
|